
The Secret Life of a Glass Piece, From Start to Finish
What Is Fused Glass, Anyway and Why Does It Takes Three Days to Make One Piece?
From the Studio · Process & Technique
I get asked this all the time, and I love it. "How do you do what you do with the glass?" The short answer is: very carefully, very slowly, and with a lot of math I didn't expect to need when I first started. The longer answer, well, that's what this post is for.
Let me walk you through it.
First, a Little Vocabulary
When most people see my work for the first time, they assume it's blown glass. And I completely understand why. It has that same luminous, sculptural quality. But what I do is actually something different. There are three main categories of glass art:
Hot glass — blown glass, worked at temperatures up to 2,000°F or hotter
Warm glass — fused glass (that's mine!), kiln-fired up to about 1,460°F
Cold glass — stained glass, which uses no heat at all
I work in warm glass. My kiln tops out at around 1,460°F, which is hot enough to melt and bond layers of glass together, but nowhere near the intensity of hot glass work. And the glass I use isn't just any glass. It's specially formulated for fusion, designed to melt and bond predictably.
Why It Takes So Long: The Three-Firing Process
What surprises most people is that almost every piece I make goes through three separate kiln firings. Three. And each one takes a full 24 hours from start to finish, because the glass has to come up in temperature very slowly, and come back down just as slowly. Rush it, and it cracks.
Let me use my wall waves as an example, because they're one of my most popular pieces and they really illustrate how the whole process works.
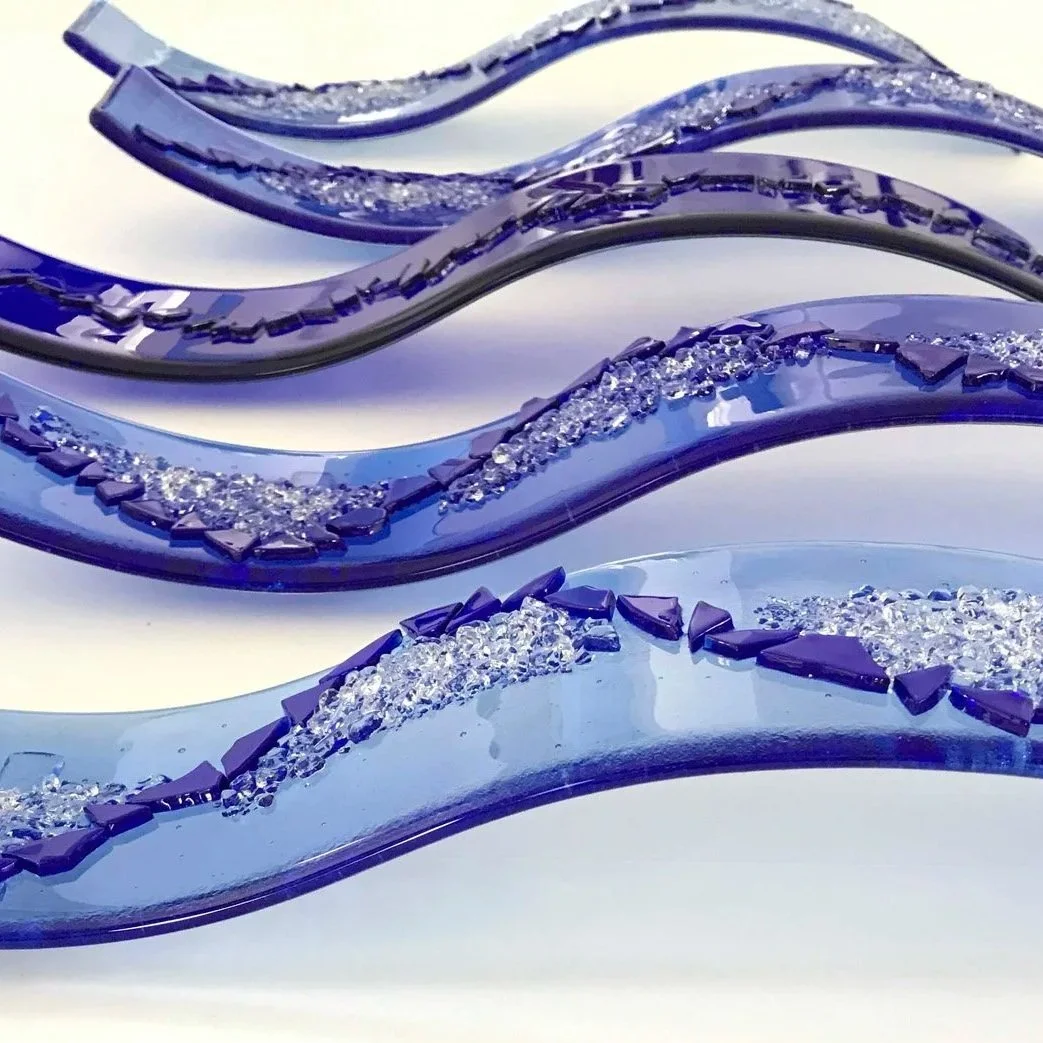
Blue fused glass wall waves with crushed glass detail, handcrafted by Dot Galfond
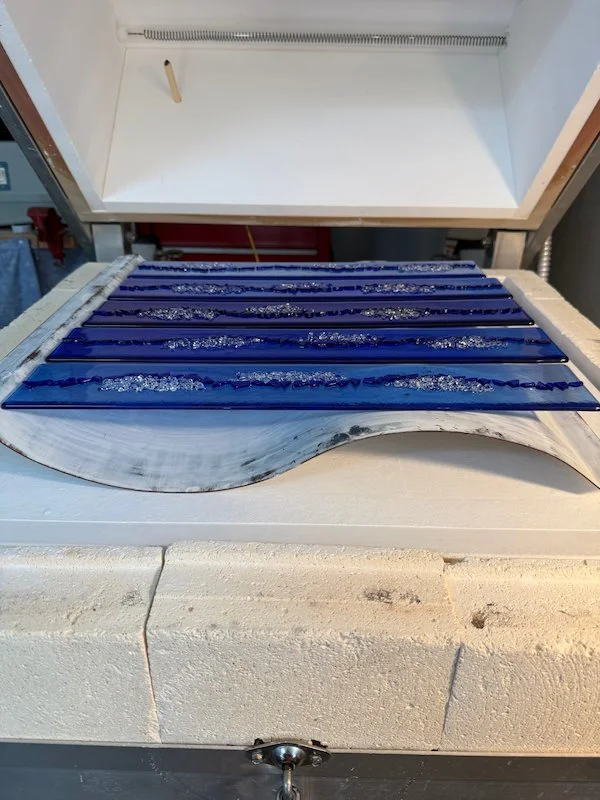
Wall waves in the kiln, draped across a stainless steel mold before the final shaping firing
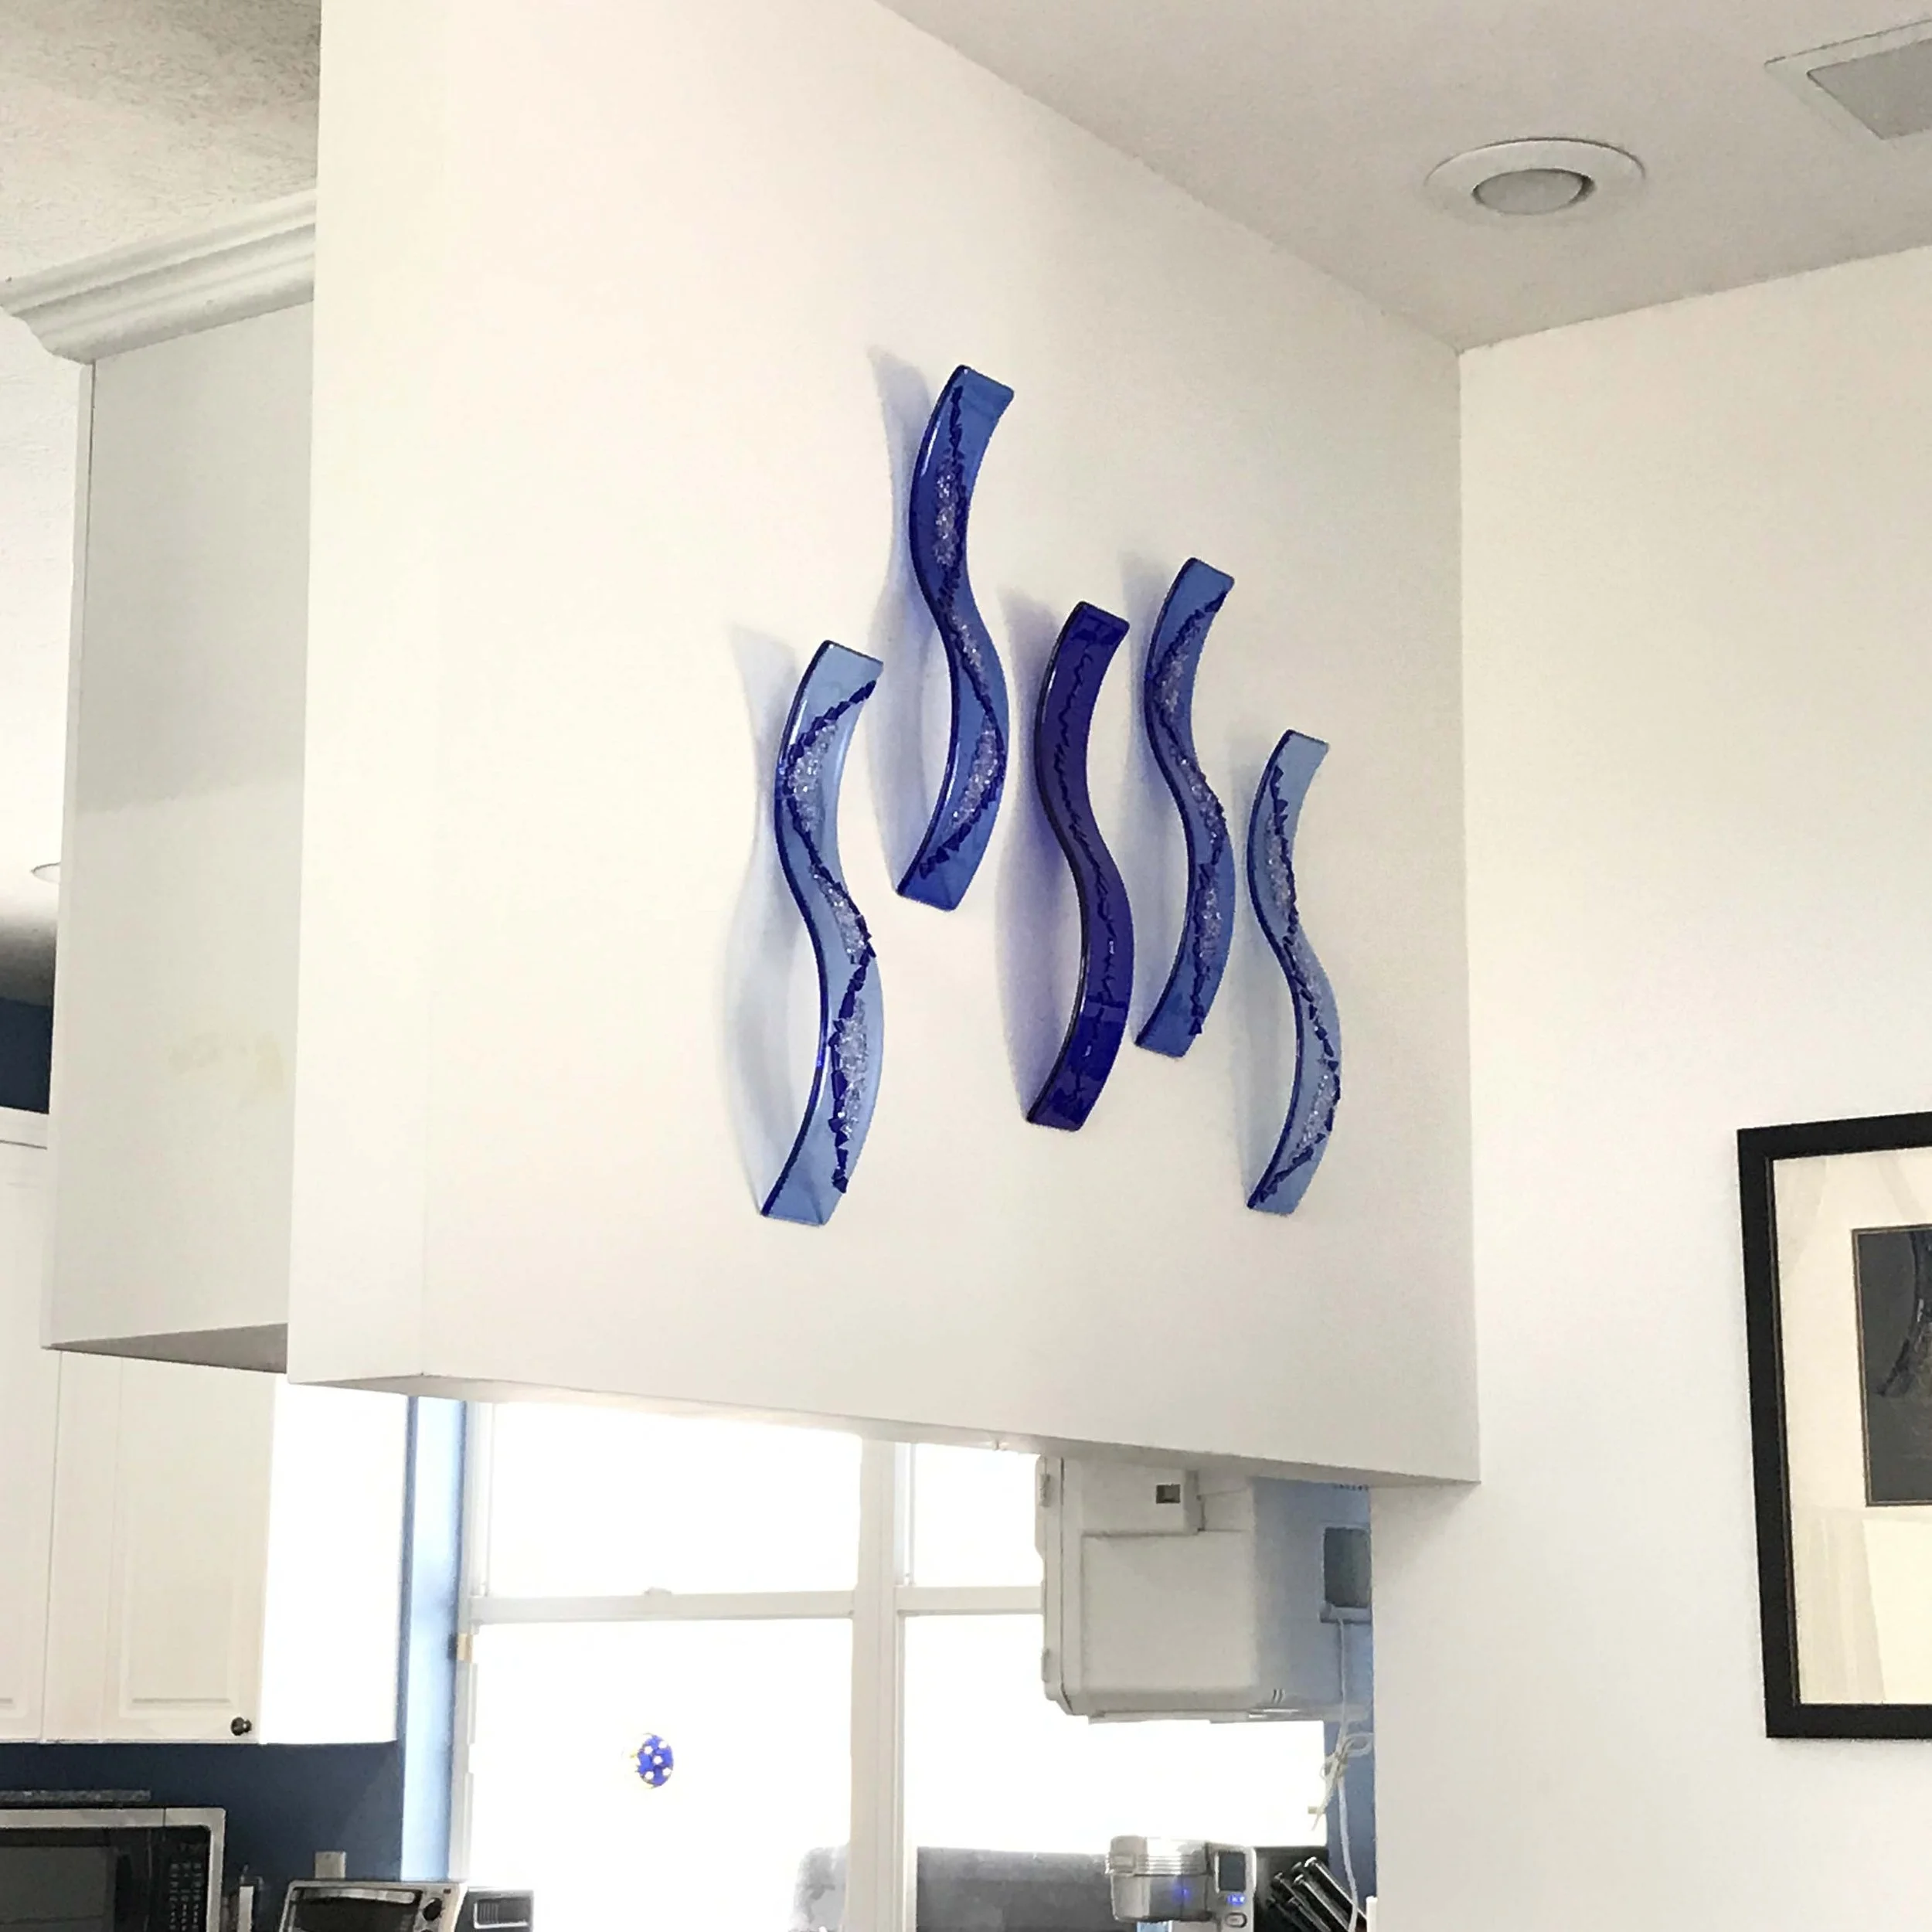
Finished blue glass wall waves installed in a client's home
Firing 1: The Fuse
Glass wants to be 6 millimeters thick. The sheets I work with are 3 millimeters each, so I cut two pieces the same size, for the waves that's 3 inches by 18 inches, and stack them on top of each other. Into the kiln they go, up to 1,460°F, and they fuse into one single piece of glass. This first firing is the hottest of the three, and it's where everything starts.
Firing 2: The Detail Work
For the waves, I wanted that sparkle, the look of water droplets or sea foam catching the light. So after the first fuse, I add crushed glass on top and fire again. But this firing only goes up to about 1,310°F.
That's intentional. If I fired it back up to 1,460°F, the same temperature as the first firing, that crushed glass would melt completely into the surface and disappear. I'd lose all that texture. The lower temperature attaches it without absorbing it. Each subsequent firing is always cooler than the one before.
Firing 3: The Shaping
This is where the waves become waves. I have a stainless steel mold shaped exactly like the finished form I'm going for. I drape the flat, fused pieces across it and fire again, slowly and carefully, and the glass softens and falls into the shape of the mold. When I open the kiln, those long flat pieces have become waves.
That third firing also has to ramp up even more slowly than the second. The more times glass has been through a kiln, the more gently it needs to be treated.
The Scheduling Behind Every Piece
Every single piece requires its own firing schedule. How fast to ramp up the temperature. How long to hold at each stage. How slowly to cool back down. A large panel fires differently than a small piece. A vase fires differently than a wall hanging. And some colors of glass actually behave differently from others. Some glass is harder, some is much softer, so I've learned to peek in the kiln and adjust on the fly if something isn't doing what I expect.
Over the years I've built up schedules I trust for my most common pieces. My waves all fire on the same schedule. But anything new, anything different, that's a new calculation. (And yes, there is real math involved. Thank God for Excel.)
Annealing: The Step That Makes It Last
There's one part of the process that I think is the most important, even though it's completely invisible in the finished piece: annealing. That's the slow, controlled cooling phase at the end of every firing where the kiln holds at a specific temperature, sometimes for an hour, sometimes for six, so that all the glass can equalize before it cools the rest of the way.
Skip the annealing or rush through it, and the piece might look fine when it comes out. It might look fine tomorrow. But the internal stress is there, and at some point, maybe a week later, it can crack. Proper annealing is what makes a piece stable, durable, something you can live with for decades.
I always give it plenty of time. That's just not a corner I'll cut.
Why Glass Has to "Get Along" With Itself
This one trips up a lot of people who are new to fused glass. There are two main brands of fusible glass, and they are not compatible with each other. You have to pick one and stick to it.
The reason comes down to something called the COE — coefficient of expansion — which is a measure of how much the glass expands and contracts as it heats and cools. The two brands have different expansion rates. Mix them together, and they might fuse in the kiln just fine. But they'll fight each other as they cool, and that internal tension can cause the piece to crack, sometimes right away, sometimes days later.
So every piece I make uses one brand of glass throughout. No exceptions.
And Then There's That Moment
After all of it, the cutting, the layering, the three firings, the careful scheduling, the waiting, there's this moment at the end that I never get tired of.
Opening the kiln after the last firing. Lifting the lid slowly. Seeing whether the piece came out the way I hoped.
It gets me every single time.
Have questions about the process, or curious about a specific piece you've seen? I'd love to hear from you. Reach out through the contact page.